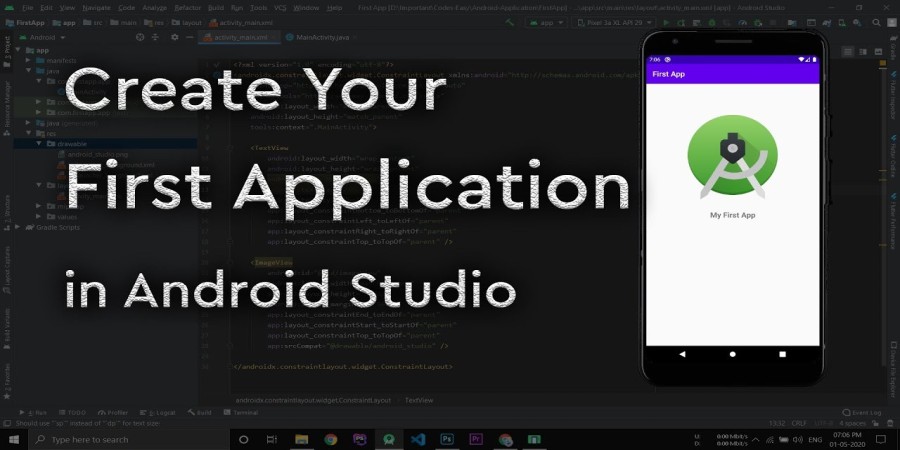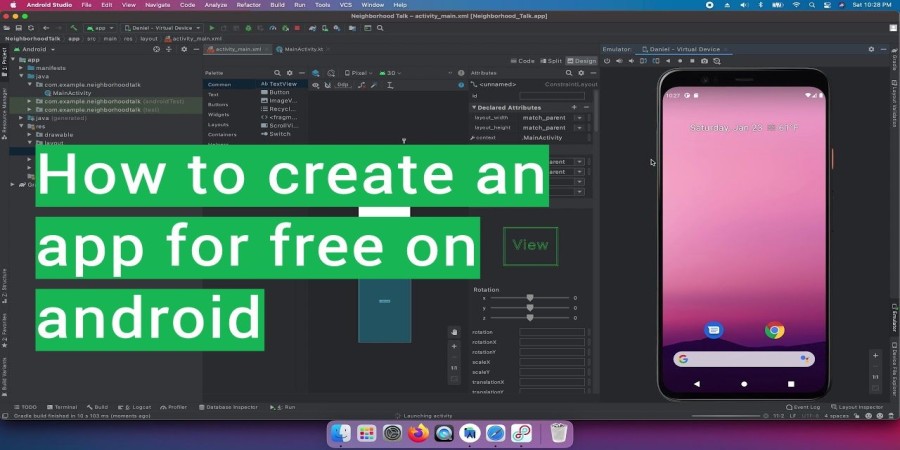

Android Studio: Create your first app.
For those unfamiliar with mobile development, creating a mobile application can be a daunting process. To build a successful mobile app, you need to have a thorough understanding of all the components and processes. The right tools can make the process much easier. Android Studio is an excellent choice for anyone who wants to create Android applications.
Google created Android Studio, an integrated development environment for creating Android apps. It has a code editor and debugger as well as an emulator. The fact that it is free and open source makes it even more appealing to developers.
This article will walk you through creating and building your very first Android application using Android Studio. We will begin by explaining what mobile app development is and why Android Studio makes the best choice. Then we will discuss how to build an Android app using Android Studio. We'll also talk about setting up Android Studio as a development environment and creating a project.
We will then discuss how to create your first Android application. We will guide you through the configuration of the app, the building, the testing, and the deployment. You will be able to build and create your own Android application by the end of this guide. Let's start!
Create Android Apps in Android Studio
Android Studio makes it easy to create an Android app. You just need a basic knowledge of the Android language and how development works. Downloading and installing Android Studio is the first step. Next, create a new project within the development environment. The user can then choose the project type, target device, and create an activity. The app can then be developed, tested and deployed.
Installing Android Studio is the first step to creating an Android application. Android Studio is an integrated development environment for Android. It offers a full set of features and tools for developing and debugging applications. Android Studio's user interface is designed to make debugging and coding faster.
After installing Android Studio, users can start a new project simply by clicking on the "New Projects" button. The project wizard will appear, where the user can select the device and type of project that they wish to create. Some examples of projects are game apps, business apps, or social networking apps. Users can choose the Android tablet or phone as the target device after selecting the project type.
Next, create an activity. An activity is a set of commands used to build your app. In Android Studio, you can create an activity by selecting the activity type in the "New Activity window". You can choose between "Activity", "Fragment", and "Map Activity."
Android Studio has an integrated code editor that makes it easier to write code. Android Studio includes an integrated code editor that makes it easier to write code. The code editor includes syntax highlighting and autocomplete, as well as debugging features. The code editor allows users to write, debug and execute code.
Users can now build and deploy their app to the device of choice. Users must configure their app, then build it by clicking the "Build" Button. Once the app has been built, you can test it on the device. Once the app has been tested, it can be deployed to the device.
Android Studio makes it easy to create an Android application, but you will need some basic knowledge about Android and its language. Users can quickly create an interactive and functional app with the right tools.
Setting Up Android Studio
Android Studio is Google's official integrated development environment. This free software includes everything you need for a complete Android development experience. It's the best option for creating Android apps because it simplifies everything and gives you access to an extensive collection of libraries and other tools.
Downloading and installing Android Studio is the first step. The procedure is simple and does not require any advanced technical knowledge. After the installation, you'll be greeted by the familiar IDE interface. The Android Studio development environment has four main sections:
Project window is located at the upper-left corner of the window. It allows you to manage and view all files and folders that are associated with the project. The Android SDK version is also displayed.
On the right side, you will find the tool windows that contain the different options and tools to customize your project. They include, for example, the Database, Profiler and Logcat.
It is possible to edit code anywhere in the project by using the editor area located in the middle. The editor contains a variety of features, including instant code completion and syntax highlighting. It also has an integrated debugger.
Design view is located at the bottom and displays the graphic representation of the interface. You can easily drag and place components in the user interface to view the layout.
After you have become familiar with the layout, you can start the process of creating a project. You will need to select the type of project you want, whether it's a simple or complex one. Also, choose the device that the app is going to be used on. You can now begin coding your app after creating the project. Android Studio has a syntax highlighter and code completion feature that makes it easy to create and edit code. You can now configure, build, deploy, and test the app.
Installing Android Studio is a crucial step in developing successful mobile apps. Android Studio's comprehensive features and tools make the entire development process more efficient.
Create a New Project
There are several important steps that you must follow when creating a project in Android Studio. Users must first select a type of project. Android Studio has a number of project types including "Application", "Library" and "Google App Engine." Users can choose from these project types depending on the type app they are creating.
The next step is to select the device that will run your app. The type of Android device on which the app will be run will depend on this. It is crucial to choose the correct target device as this will determine whether the app runs on other Android devices.
Users can create activities that appear in an app once they have selected the device to target. Activities are the building block of an app. They can be a web page or login page, or a list. Users can add other types activities, such as broadcast receivers, services, and content providers.
Writing the code for an app is the last step of creating a project. When writing code, it is crucial to follow the right coding style. This will determine the performance and functionality of the app. The code should be simple to read and comprehend. It is important to troubleshoot and debug code. It is important to ensure that the app works on all devices.
Android Studio makes it easy to create an Android application. Users can easily create their own Android app by following the above steps. Users can create an app for Android devices using the right tools and coding styles.
Writing Code for Your App
The first step in creating an Android app is to write code. To get your app to perform as you wish, you will need to write code that uses the various components and features of Android Studio. This section provides an introduction to Android Studio's code-writing process and demonstrates the various techniques for debugging and troubleshooting code.
You can use the powerful Java language to write code within Android Studio. Java is a popular programming language used by millions to develop a variety of programs and apps. Java is an excellent choice for Android Development because it's simple to learn and many core components are written in Java. The Android Developer website provides tutorials and documentation that are a great way to learn Java.
You will first need to create an Android Studio project. After creating your project, you can begin writing code into the Java files that are associated with it. You don't need to learn Java syntax to start developing Android apps, as many of the key components are already included in the project. It's important to know the different components of Android development in order to write code that is more efficient, and fits better with your project.
The code writing process is not complete without debugging. This allows you to fix any bugs or errors in your code prior to releasing your app. Android Studio offers several tools to debug your app. These include the Android Monitor (also known as Android Device Monitor), Logcat and Android Device Monitor. These tools allow you to pinpoint exactly where the error is occurring and fix it.
It is also important to know how to troubleshoot code. The goal of troubleshooting is to identify potential issues in your code, before they get too serious. You can do this using the Android Debugging Bridge, a powerful command line tool that lets you debug your application from the command prompt. Using this tool, it is possible to identify the source of any errors in your app and fix them by making changes to its code.
The development of your Android application is not complete without writing code. You can create an Android app that works well in Android Studio by learning the Java basics and how to debug code. You can save a lot time and energy by learning the basics.
How to Create Your First Android App
The next step after writing the code is to build your app. Before you can deploy your app, this process includes configuring, assembling, and testing it. When building an Android app, you need to follow several steps. We will show you how to create your first Android application in Android Studio.
Configuring the Android app is the first step to building an app. The first step is to configure the app. This includes setting up a structure for your project and configuring options. You can configure your Android Studio project in the Project Structure window. You can edit and view settings like the Android SDK and build targets. You can also configure the structure of your project, including where your source code resides, which libraries you include, and what build system you use.
Next, you will need to build your application. Compiling code and creating the Android package file (APK) are both part of this process. You can build your Android app in Android Studio from the Build menu. You can choose which targets and build variants to build. You can also decide whether to install your app on a device or simulator. The APK file is generated once the build process has been completed.
Third, test your app. The app is run on a device or virtual device to test its performance. You can run an app in Android Studio from the Run menu. You can set up automated testing to run your app. It is important to ensure that your app works as intended.
Deploying your app is the final step. The final step is to submit your app for review and approval on the Google Play Store. You can deploy your Android Studio app via the Build menu. You can choose which versions of your app you want to release as well as the countries and languages in which it will be available. After selecting the options you want, you can send your app to be reviewed.
Follow these steps to build, test and deploy your Android app using Android Studio. It may be intimidating at first, however, with some practice it will become second-nature. You can now create your own Android application and begin your career as an app developer.
Fastupload.io offers a free APK hosting service to download and upload apps. Integration solutions are available for uploading apps to blogs, websites, and forums.
Popular articles

Jul 30, 2022 12:50 PM

Jul 18, 2022 09:31 PM

Dec 02, 2023 11:55 PM

Dec 02, 2023 10:39 PM

Dec 02, 2023 10:52 PM
Categories
Comments (0)